
Request a Quote
  • Affiliates

How to Choose a Belt Measuring Tool for Accurate Sizing

Choosing a Belt Measuring Tool starts with understanding what you need to measure: a loose belt, a belt fitted around a machine, or a replacement part. These situations call for different methods. A flexible tape can follow a curved path, while a rigid ruler may work better for a straight, accessible belt. The tool should also match the belt’s width and material. A narrow belt can twist under pressure, and a stiff belt may not sit flat. Small details matter.

Accuracy depends on more than the markings on the tool. Check whether its scale uses millimeters, inches, or both, and confirm that the zero point is easy to locate. For repeat measurements, use the same contact points and avoid stretching a flexible belt. If the tool has a calibration feature, follow the manufacturer’s instructions. Then compare a reading with a trusted ruler when practical. It is a simple check, but it can reveal a worn edge or confusing scale.

This guide explains how to compare common tool types, measure consistently, and choose a suitable option for your task. It also considers durability, readability, and ease of handling in real working conditions. A more expensive tool is not automatically better. Sometimes the simplest tool is enough. Still, I would not treat every measurement as exact; belt shape, tension, and user technique can affect the result. The aim is a reliable fit, not false precision.
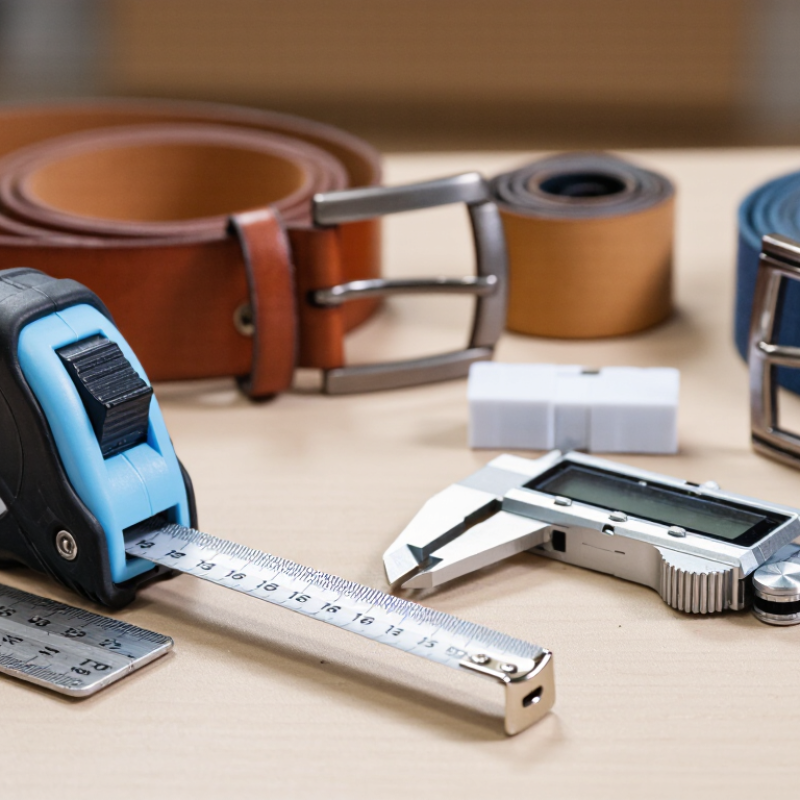
How to Choose a Belt Measuring Tool for Accurate Sizing

Identify the Belt Type: ISO 4184 Covers V-Belt Length Designations

A belt’s printed number is meaningful only when its belt type and length system are known. ISO 4184 covers length designations and tolerances for classical and narrow V-belts. It uses datum length, marked Ld, as the reference. A tool reading the belt’s outside circumference may show a different value.

Look for the profile marking, such as A or SPA, before measuring. These profiles are not interchangeable, even when their widths seem close. Then check whether the tool measures datum length or another circumference. Read its instructions carefully. Small differences matter. A belt stretched around measuring pulleys can settle differently if it is twisted or not seated evenly.

Clean the belt and inspect its markings under good light. If they are worn, measure the cross-section at several points and compare it with the correct profile chart. Use a tool designed for V-belts, and keep the belt aligned without forcing it. Record the profile and the tool’s length reading together. One detail can be easy to miss: wear, heat, or a damaged edge may distort the measurement. When readings disagree, recheck the setup rather than choosing the closest number.

How to Choose a Belt Measuring Tool for Accurate Sizing — Identify the Belt Type: ISO 4184 Covers V-Belt Length Designations
Belt Profile Nominal Top Width Recommended Measuring Tool What to Measure Sizing Guidance
Classical Z 10 mm Profile gauge, followed by a calibrated belt length measuring machine Confirm the cross-section, then measure the belt’s standardized datum length (Ld). Use the Z profile designation when the belt’s section matches the classical Z profile. Do not identify length from the top width alone.
Classical A 13 mm Profile gauge and belt length measuring machine Check the belt profile and record its datum length under the measuring machine’s specified conditions. ISO 4184 length designations apply to classical and narrow V-belts; confirm the profile before comparing length markings.
Classical B 17 mm Profile gauge and belt length measuring machine Measure the datum length rather than relying on a loose belt’s outside circumference. Replace like-for-like by matching both the section and the applicable length designation.
Classical C 22 mm Profile gauge and calibrated belt length measuring machine Verify the cross-section and measure the belt using the machine’s specified tension and procedure. A belt that appears similar in width may have a different profile; check the sidewall and section dimensions.
Narrow SPZ 9.7 mm Profile gauge and belt length measuring machine suitable for narrow V-belts Confirm the narrow profile and measure the designated datum length. SPZ is a narrow V-belt section, not an alternative name for classical Z. Check the profile marking carefully.
Narrow SPA 12.7 mm Profile gauge and belt length measuring machine suitable for narrow V-belts Record the profile and measured datum length; use the instrument’s prescribed setup. Do not select a replacement using length alone if the existing belt’s section has not been identified.
Narrow SPB 16.3 mm Profile gauge and calibrated belt length measuring machine Measure the standardized length and verify the belt’s cross-section independently. Use an instrument and measuring procedure appropriate for the belt section; avoid comparing measurements taken under different conditions.
Narrow SPC 22 mm Profile gauge and calibrated belt length measuring machine Confirm the SPC profile, then obtain the datum-length measurement with the specified machine setup. Keep the section designation and length designation together when recording or ordering a belt.
Measurement note: A flexible tape can help with a preliminary check on a removed belt, but it may not reproduce a standardized datum-length measurement. Belt tension, wear, and measurement method can affect the result. For accurate identification, verify the profile and use the applicable ISO 4184 length designation and a suitable calibrated measuring method.

Match the Measuring Tool to the Belt Profile and Reference Length

How to Choose a Belt Measuring Tool for Accurate Sizing

Match the Measuring Tool to the Belt Profile and Reference Length

Choose a tool that measures the belt’s specified reference, not just its outside circumference. For V-belts, use a dedicated length gauge that seats the belt correctly in its groove. ISO 4184:1992 defines a datum-length system for classical and narrow V-belts, so check whether the belt and tool use that reference. A tape wrapped around the belt may give a different result.

Timing belts need a different check: measure pitch length or count the teeth and verify their pitch. Flat belts are usually checked by length and width. Match the method to the belt profile. Small differences matter: on a hypothetical 1,000 mm belt, a 1% length discrepancy equals 10 mm. That can affect tension and fit. A worn belt can also mislead; it is useful as a clue, not always as the final measurement.

Tips: Clean the belt, let it rest unstretched, and record its profile and reference length. Check the gauge instructions before measuring. A caliper alone can’t verify belt length. It’s easy to overlook that.

Sources: ISO 4184:1992, Belt drives — Classical and narrow V-belts — Lengths in datum system.

For Synchronous Drives, Check Pulley Dimensions Against ISO 5294

Choosing a belt measuring tool for a synchronous drive means matching the tool to the pulley profile, not just measuring the belt’s overall length. ISO 5294 provides dimensional requirements for synchronous belt pulleys, but confirm the applicable edition and belt profile before comparing measurements. A mismatch in tooth pitch or profile can cause poor engagement, even when the belt seems close in length.

Use calipers to check pulley outside diameter and face width, and count the teeth carefully. For pitch, measure across several tooth intervals rather than judging one space by eye. Compare the results with the relevant ISO 5294 dimensions and the belt specification. A caliper alone cannot confirm every tooth-form detail. I still recheck the tooth count; one missed tooth can send the selection off course.

Tips: Clean the pulley first, then measure in more than one spot. Record units and readings. Small differences matter.

Keep belt-length measurement separate from pulley checks. Use a suitable belt gauge or the specified measuring method, and follow the belt maker’s measurement reference. Don’t assume a worn belt gives a reliable reading. If dimensions conflict, pause and verify the profile, standard edition, and measurement method before ordering.

Convert Readings Consistently: 1 Inch Equals Exactly 25.4 Millimeters

A belt measuring tool is only useful when its units and reference points are clear. The National Institute of Standards and Technology’s Special Publication 811 states that one inch equals exactly 25.4 millimeters. This is an exact conversion, not a rounded estimate. If a tape reads 36 inches, the equivalent is 914.4 millimeters. Entering 914 instead introduces a small discrepancy that can grow when measurements are repeated or compared. Tiny difference. Real consequences.

Before measuring, check whether the tool records the belt’s inside circumference, outside circumference, or another specified length. ISO 4184 addresses standard lengths for V-belts, showing why a number alone may not identify a compatible size. Keep the belt relaxed and flat, align the tool at its zero mark, and avoid stretching flexible material. Convert the final reading once, using 25.4—not 25 or 25.5—as the multiplier from inches to millimeters. I would also record the original reading and unit; it is easy to forget which scale was used later. A conversion can be exact while the measurement itself remains imperfect, so repeat the reading if the belt twists, sags, or shifts.

How to Choose a Belt Measuring Tool for Accurate Sizing

Convert readings consistently: 1 inch equals exactly 25.4 millimeters.

Use a measuring tool with clear, consistent graduations, and record whether your reading is in inches or millimeters. The chart shows exact inch-to-millimeter conversions; multiply an inch measurement by 25.4 to convert it to millimeters.

Repeat the Measurement and Record Tool Calibration for Reliable Sizing

Repeat the measurement under the same conditions: same belt, same support, and consistent tension. A small change in tension can shift the reading. Take three measurements, remove and reposition the belt between trials, then record each result rather than keeping only the neatest one. For example, readings of 1,000, 1,001, and 1,002 mm suggest a 1 mm spread; they do not prove the tool is accurate. Check the tool against a suitable reference standard and note the reference identification, calibration date, and any stated uncertainty.

Keep a simple calibration log beside the tool. Record its serial or asset number, the calibration provider or reference method, results, and next review date. Calibration checks performance; it does not automatically adjust the tool. NIST Technical Note 1297 explains how measurement uncertainty is evaluated and reports expanded uncertainty using a coverage factor, commonly k = 2 for roughly 95% coverage when assumptions are appropriate. Apply that uncertainty when comparing a belt reading with a sizing tolerance. If the measurement spread is close to the allowed limit, pause and investigate. I’ve seen tidy records hide inconsistent setup; that part is easy to miss. Recheck the belt seating and operator technique before accepting the size.

en_USEnglish